

Available connectors
The Connectors page lists ready-to-use integrations:- Analytics: Mixpanel, Amplitude
- Docs and knowledge: Notion, Confluence, Google Workspace
- Product and planning: Linear, Miro, Mobbin
- Communication: Slack, Granola
Open the Connectors page
Reach it two ways: from the canvas, click the database icon in the chat console, then Manage connectors. Or open Connectors in workspace settings.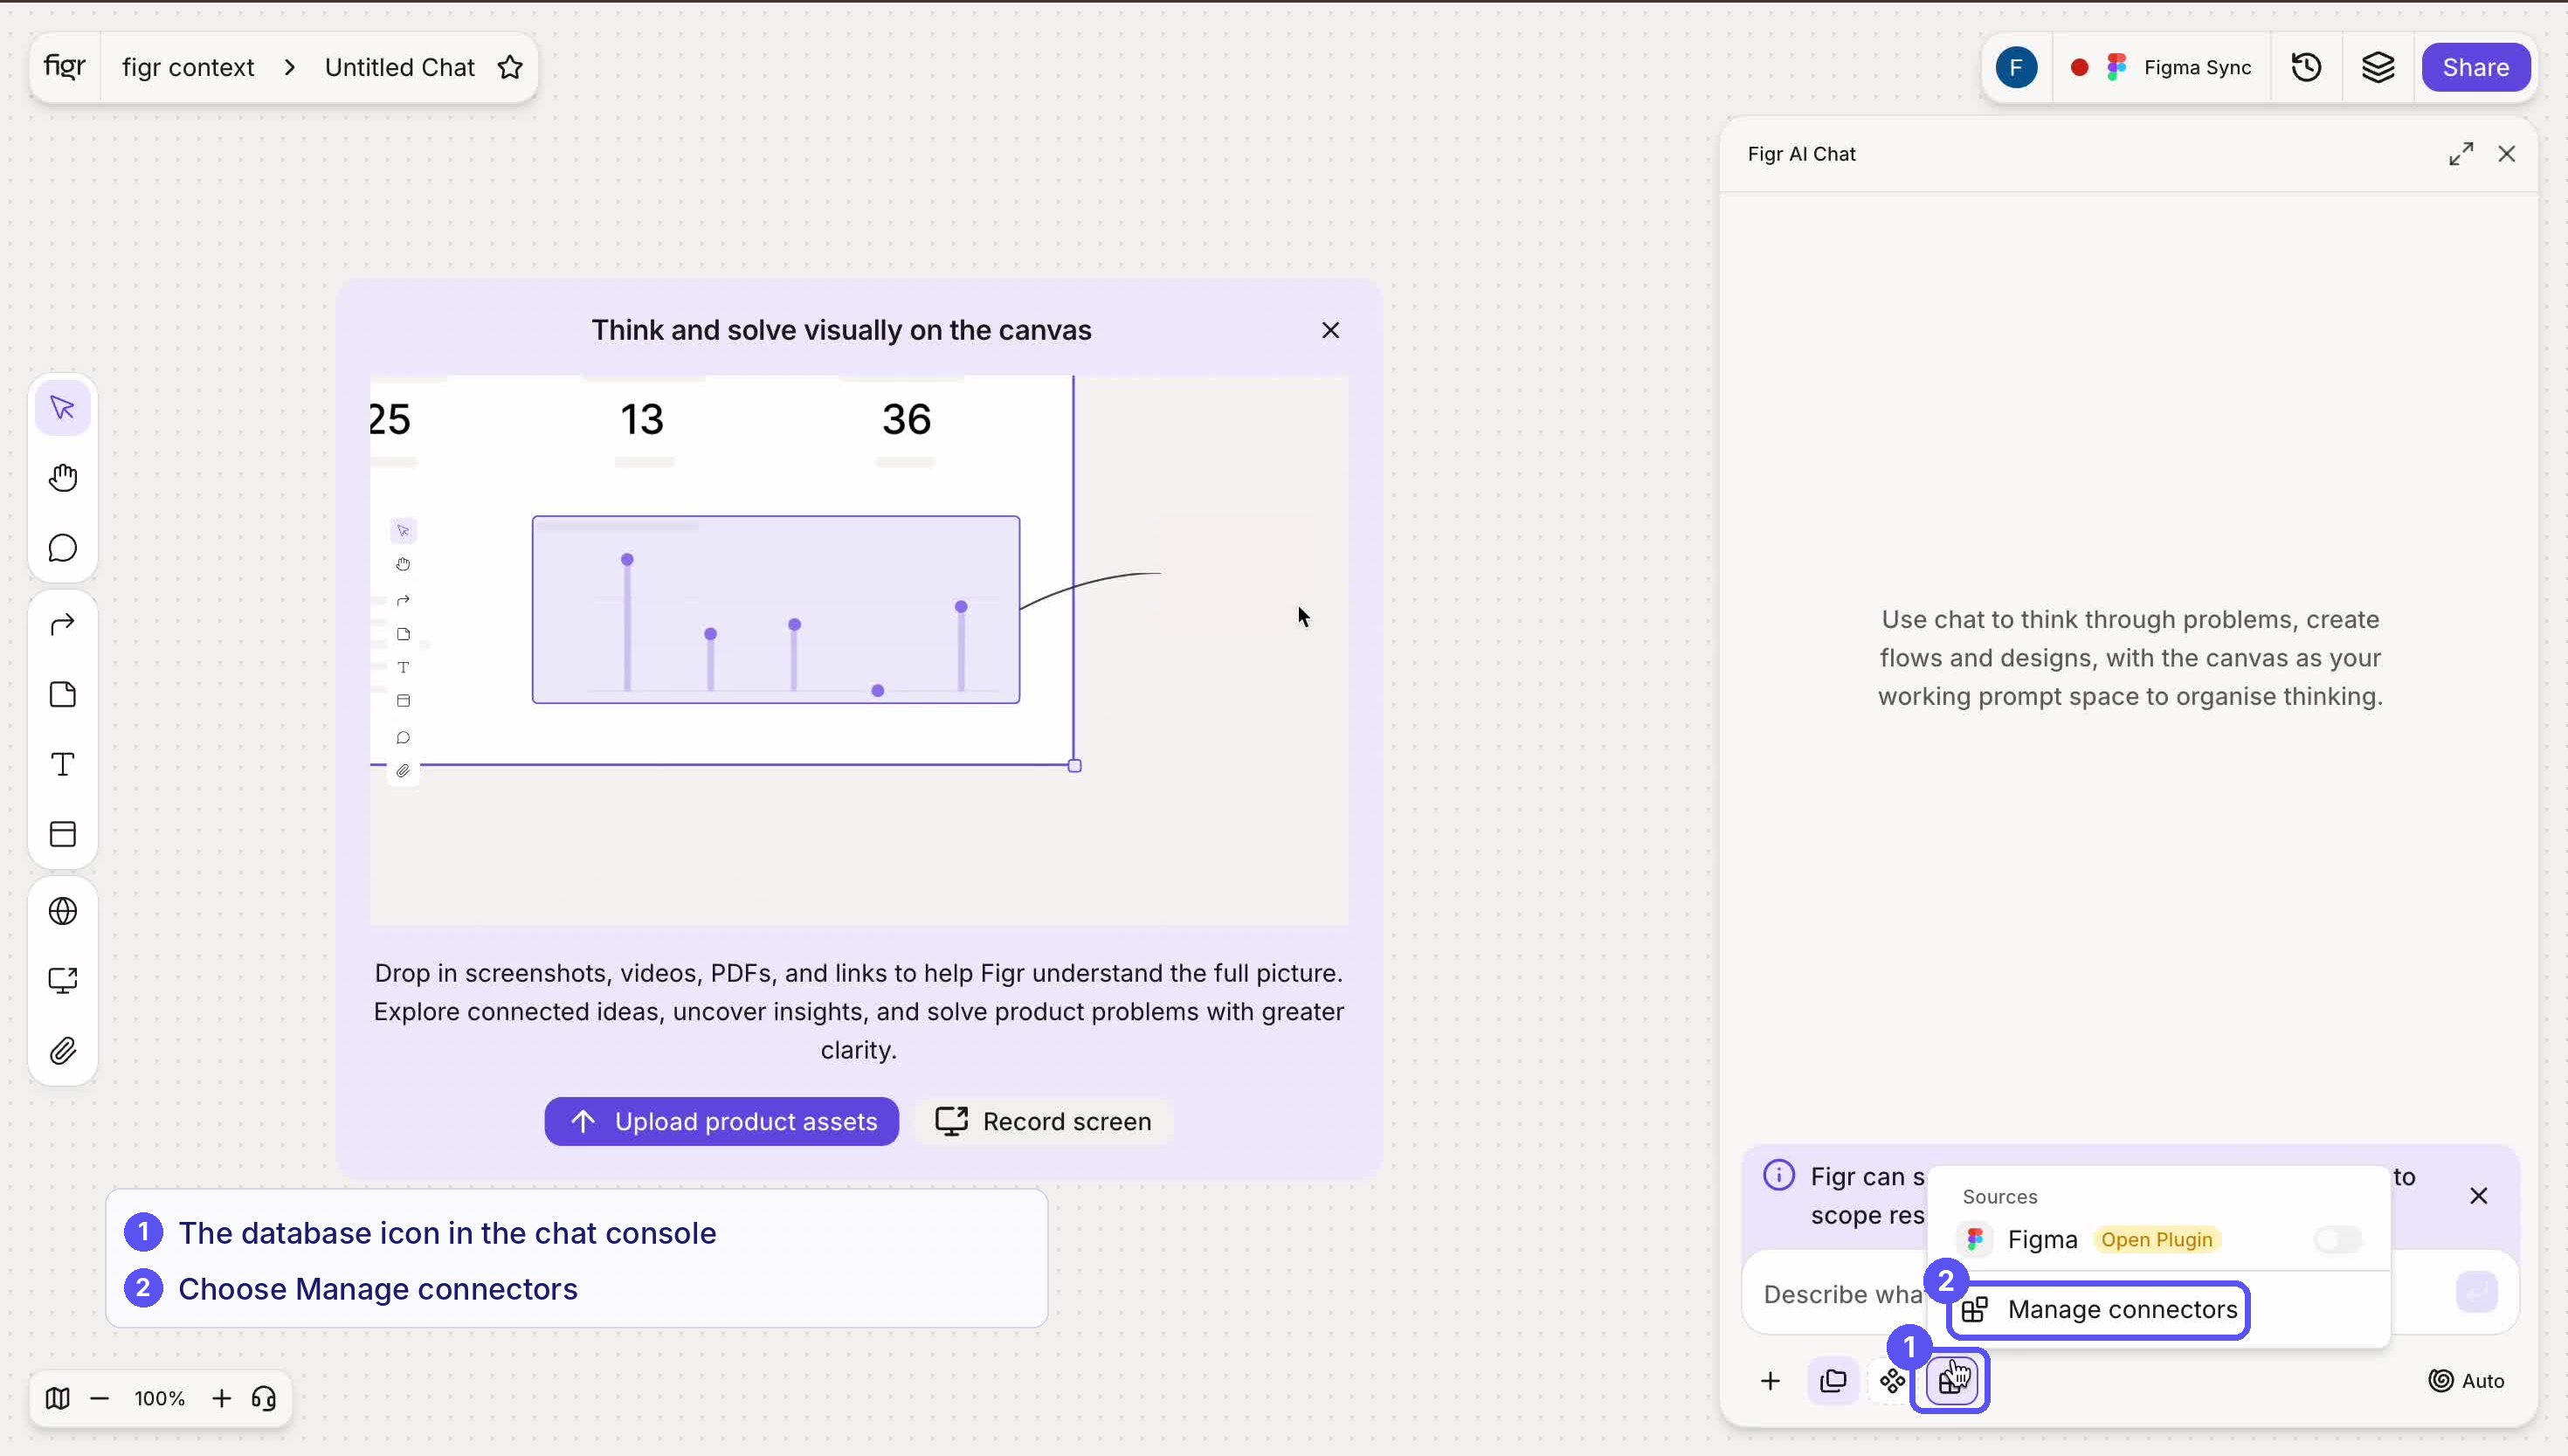

From the canvas, the database icon opens Manage connectors.
Connect a standard tool
Using Mixpanel as the example:1
Click Connect
Find the tool on the Connectors page and click Connect.
2
Review the setup modal
A modal opens, like “Mixpanel, Add connector,” with instructions and a warning that you will be redirected to authenticate.
3
Authorize with OAuth
Click Connect with OAuth. Your browser opens the provider’s authorization page. Review the requested access, like tracking, metrics, and funnel queries, then click Authorize.
4
Return to Figr
You land back with a “Connected to Mixpanel” banner. The tool now shows a green Connected badge and a toggle.
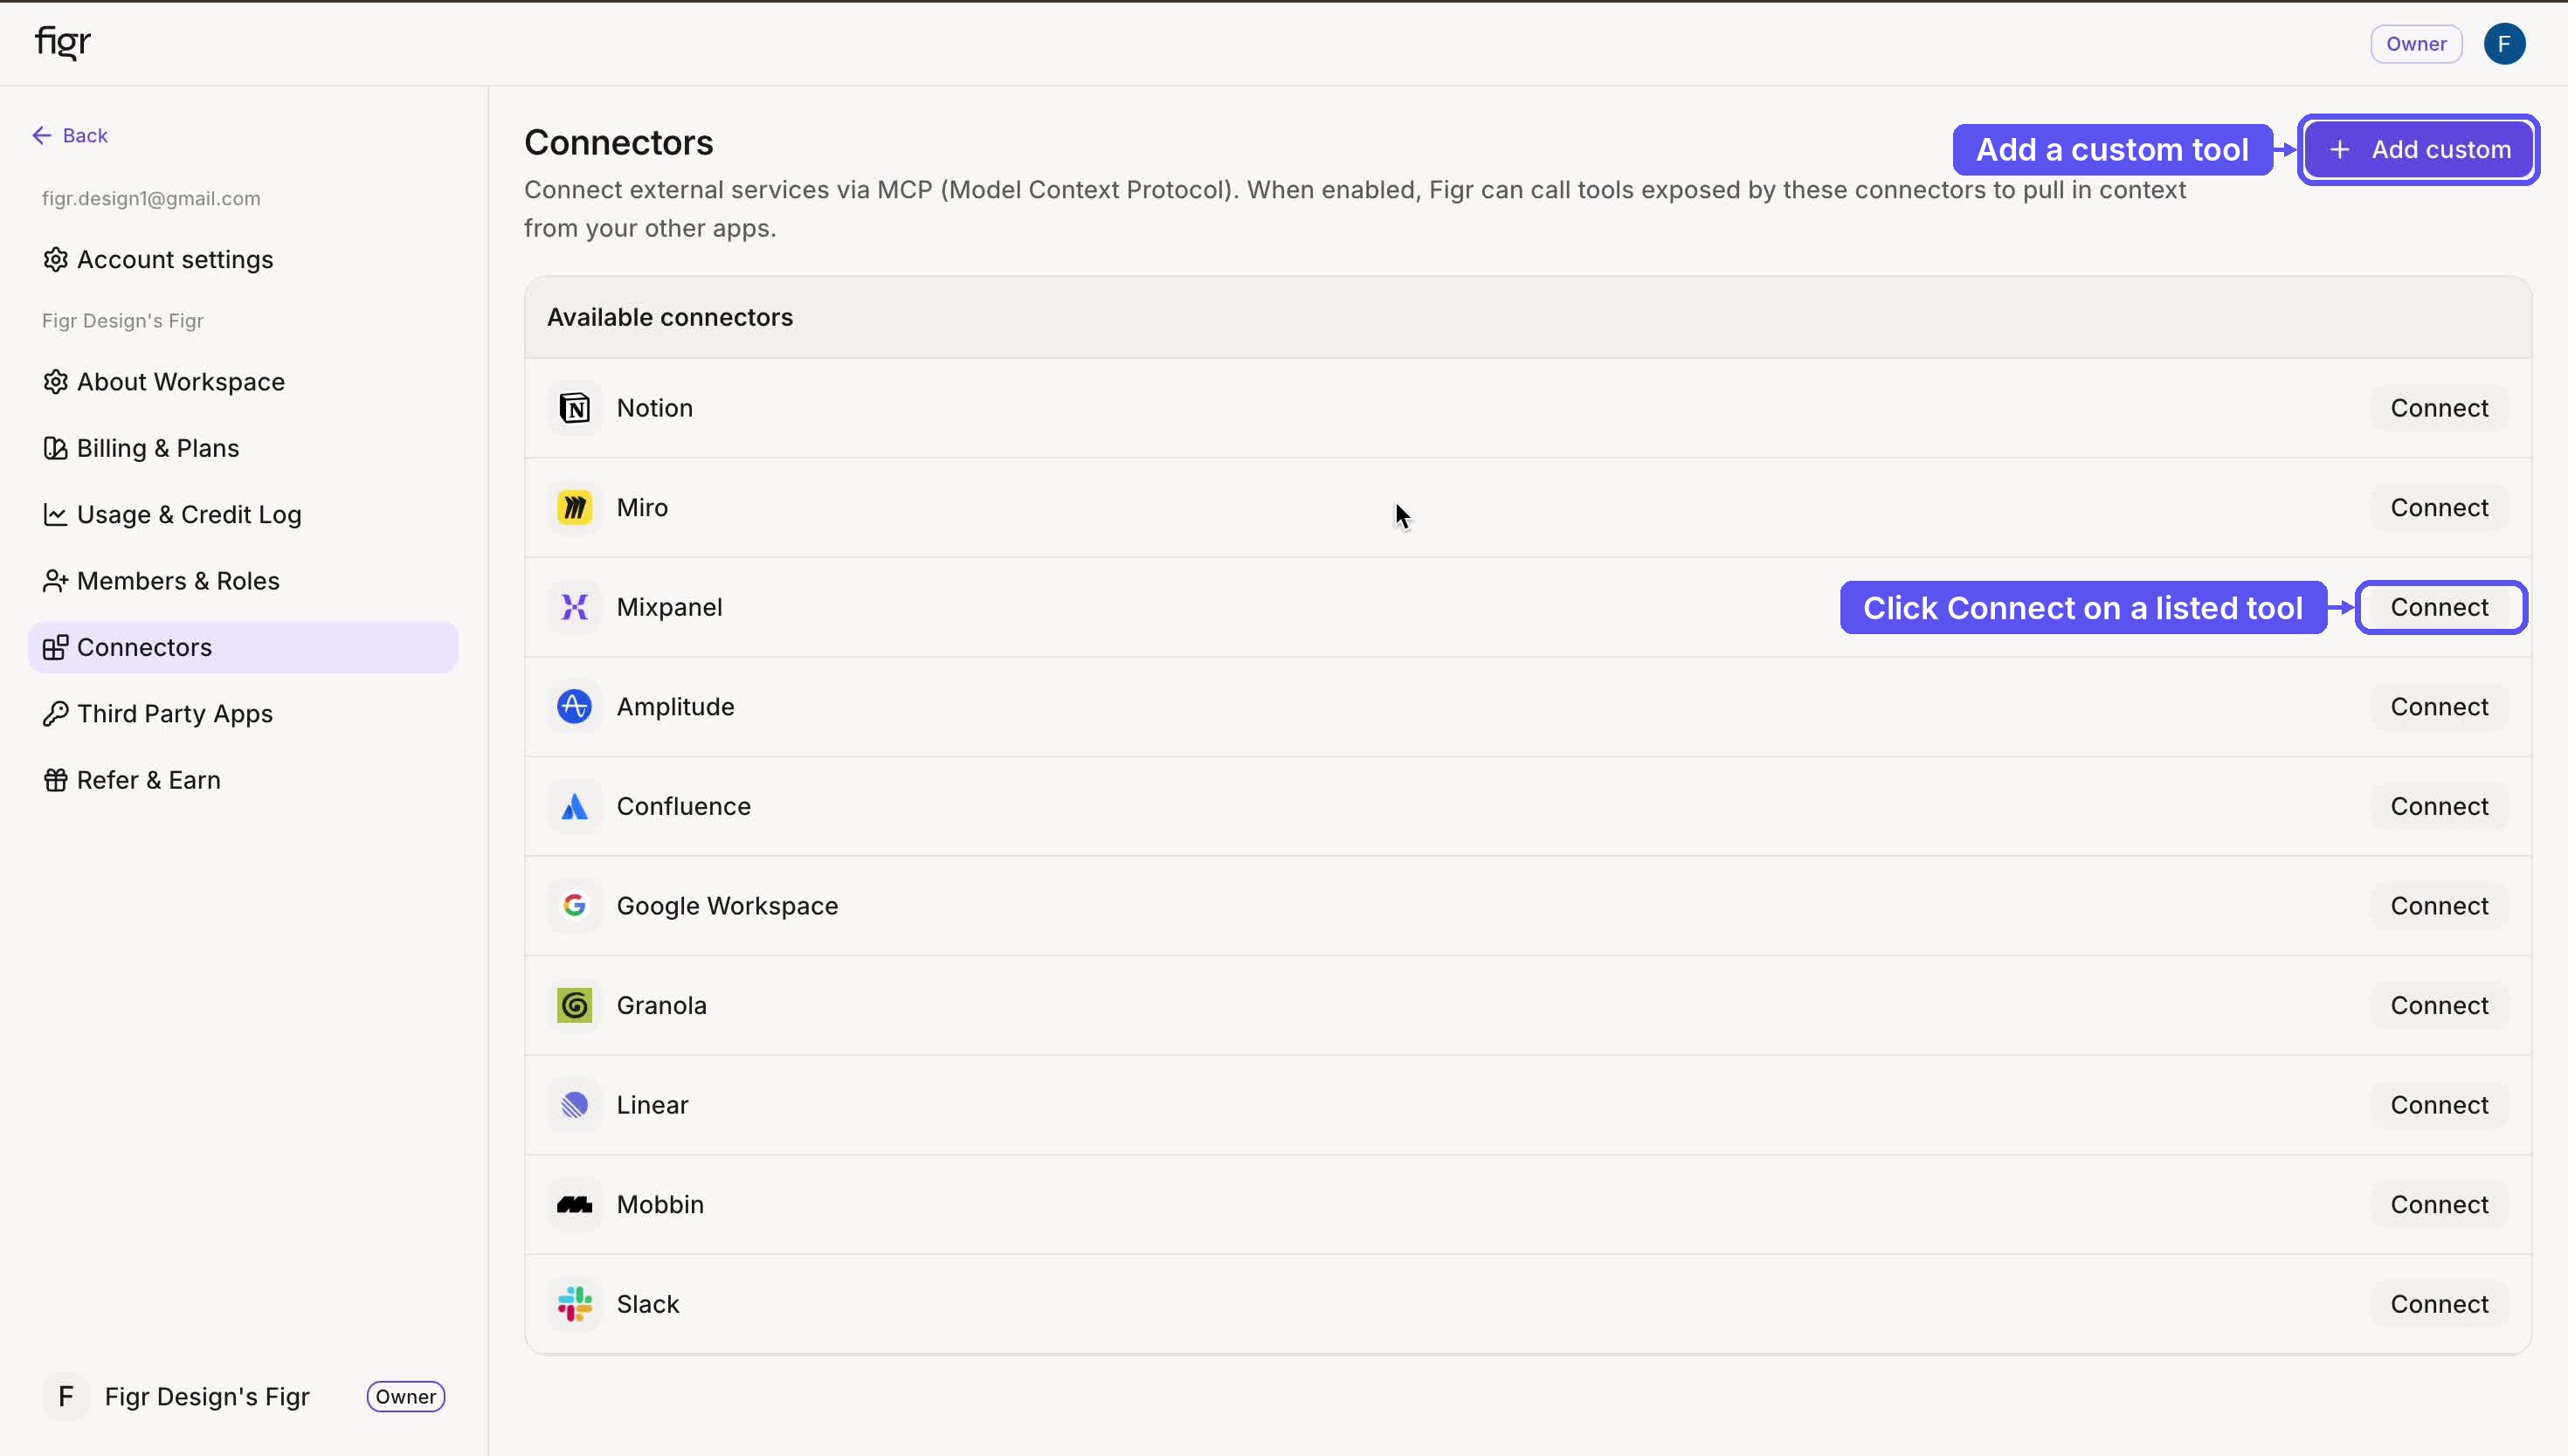

The Connectors page, with available integrations and Add custom.
Add a custom connector
Any MCP-compatible tool can be added manually.1
Click Add custom
Top right of the Connectors page.
2
Fill in the details
Name (a label, like Figr MCP), MCP Server URL (the endpoint, like https://mcp.figr.design/mcp), and Transport type (the connection method).
3
Add the connector
Click Add connector. It saves with a yellow Requires authentication badge.
4
Authenticate
Click Connect to run the OAuth handshake, then Allow access on the consent screen. The badge turns green and the connector is live.
.png?fit=max&auto=format&n=z16Z7ZdXfoZy_c4N&q=85&s=e011dec93d35af65cbc892a0708f1b59)

The Add custom connector modal.
Connection states
Using connectors in a design
Once a tool is connected, ask for what you need on the canvas. The agent decides when to call the connector and pulls the data in mid-task.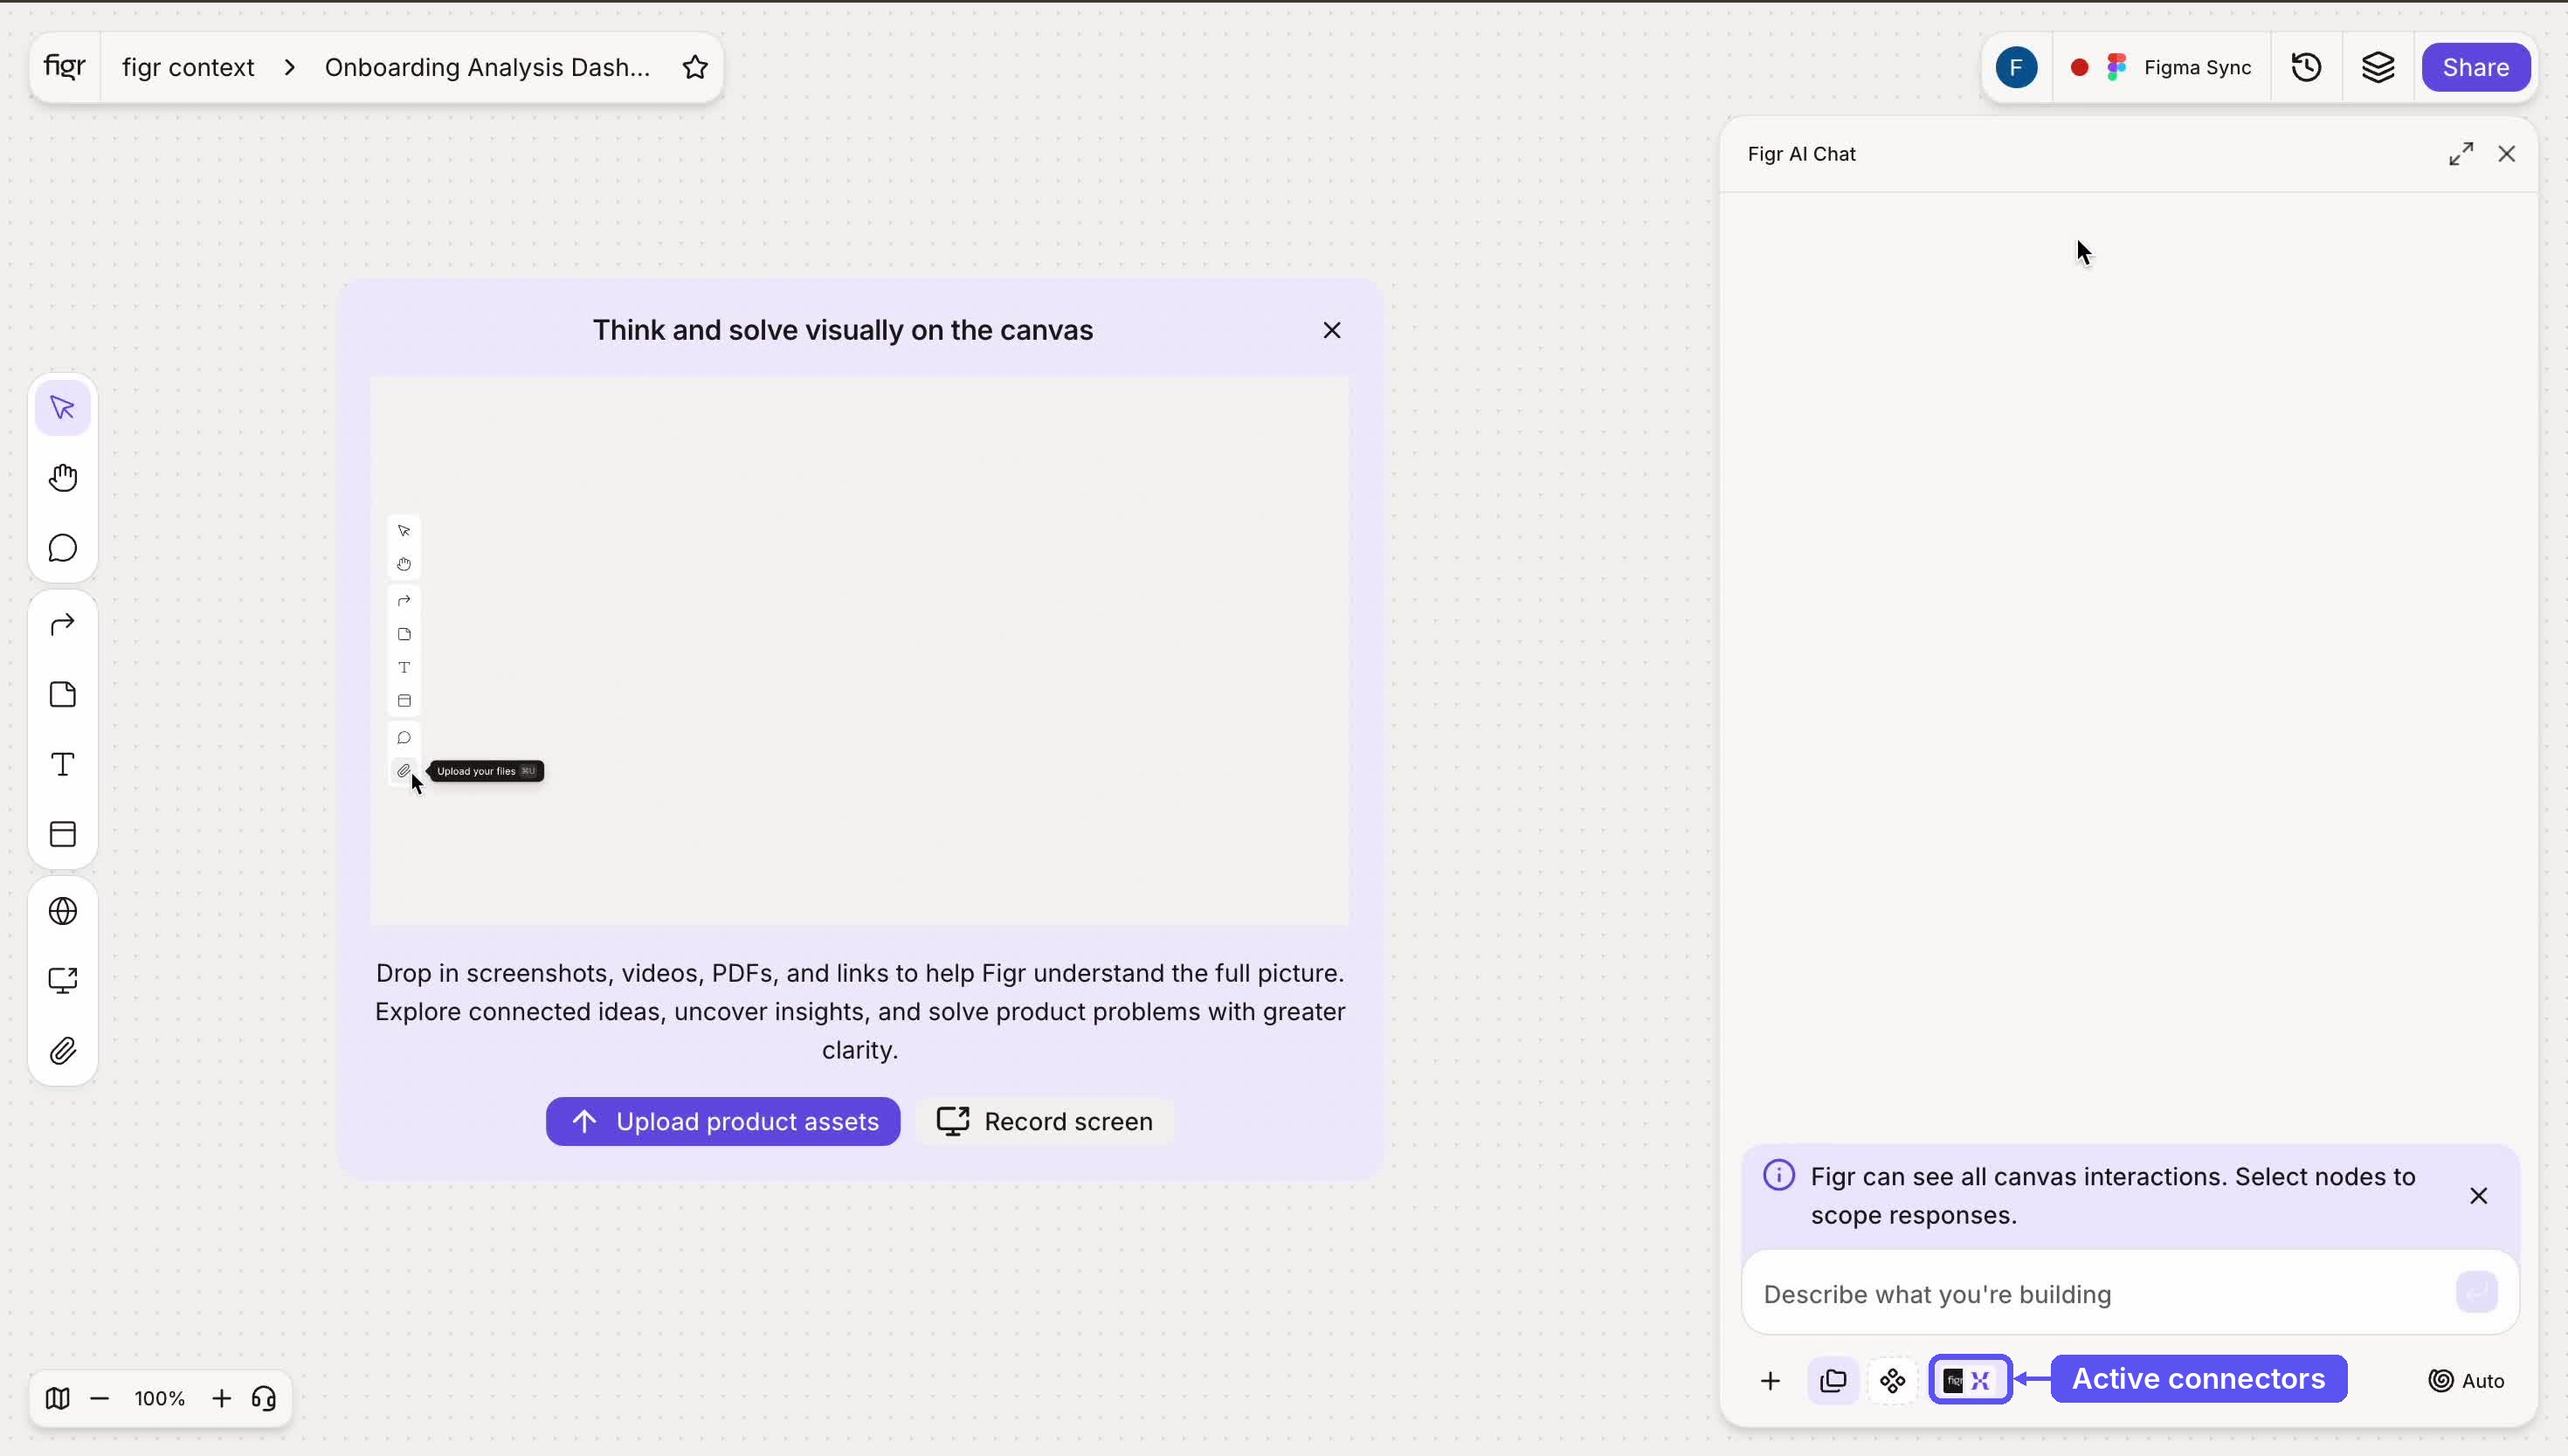

A canvas query pulling live funnel data from a connected source.
Why it matters
Static inputs go stale. A screenshot of last quarter’s dashboard is wrong the moment the data moves. Connectors keep Figr current: every query fetches fresh data, so designs reflect reality at the moment you ask.Best practices
Troubleshooting
Related
Figr MCP
Expose your own project context to AI coding assistants over MCP.
Context Pods
Bundle static product knowledge for a project.
Setting up Design Language
Teach Figr how your product should look.