

What you can do
See what's in your project
List every design, past conversation, and file in the project.
Read any design
Open any artifact to see its code and how it was built.
Understand the why
Pull the reasoning behind a design from your conversations with Figr.
Search across everything
Find elements, patterns, or text across all designs at once.
Check file details
See when something was created or modified, and other file metadata.
Two ways to connect
- From a node: hand one design off to your IDE from the Export menu. Fast, specific.
- As a connector: register the Figr MCP server once so any tool reaches your whole workspace. Persistent.
From a node
Send one design straight from the canvas.1
Select a prototype node
Click the node on the canvas. The floating toolbar appears.
2
Open Export, then Use MCP server
A dialog opens with integration options for VS Code and Cursor, plus two copy buttons.
3
Copy the link you need
Project link for the whole project, or Board node link for this one design.
4
Paste it into your IDE's MCP configuration
Your assistant can now read the design’s real layout, structure, and values.
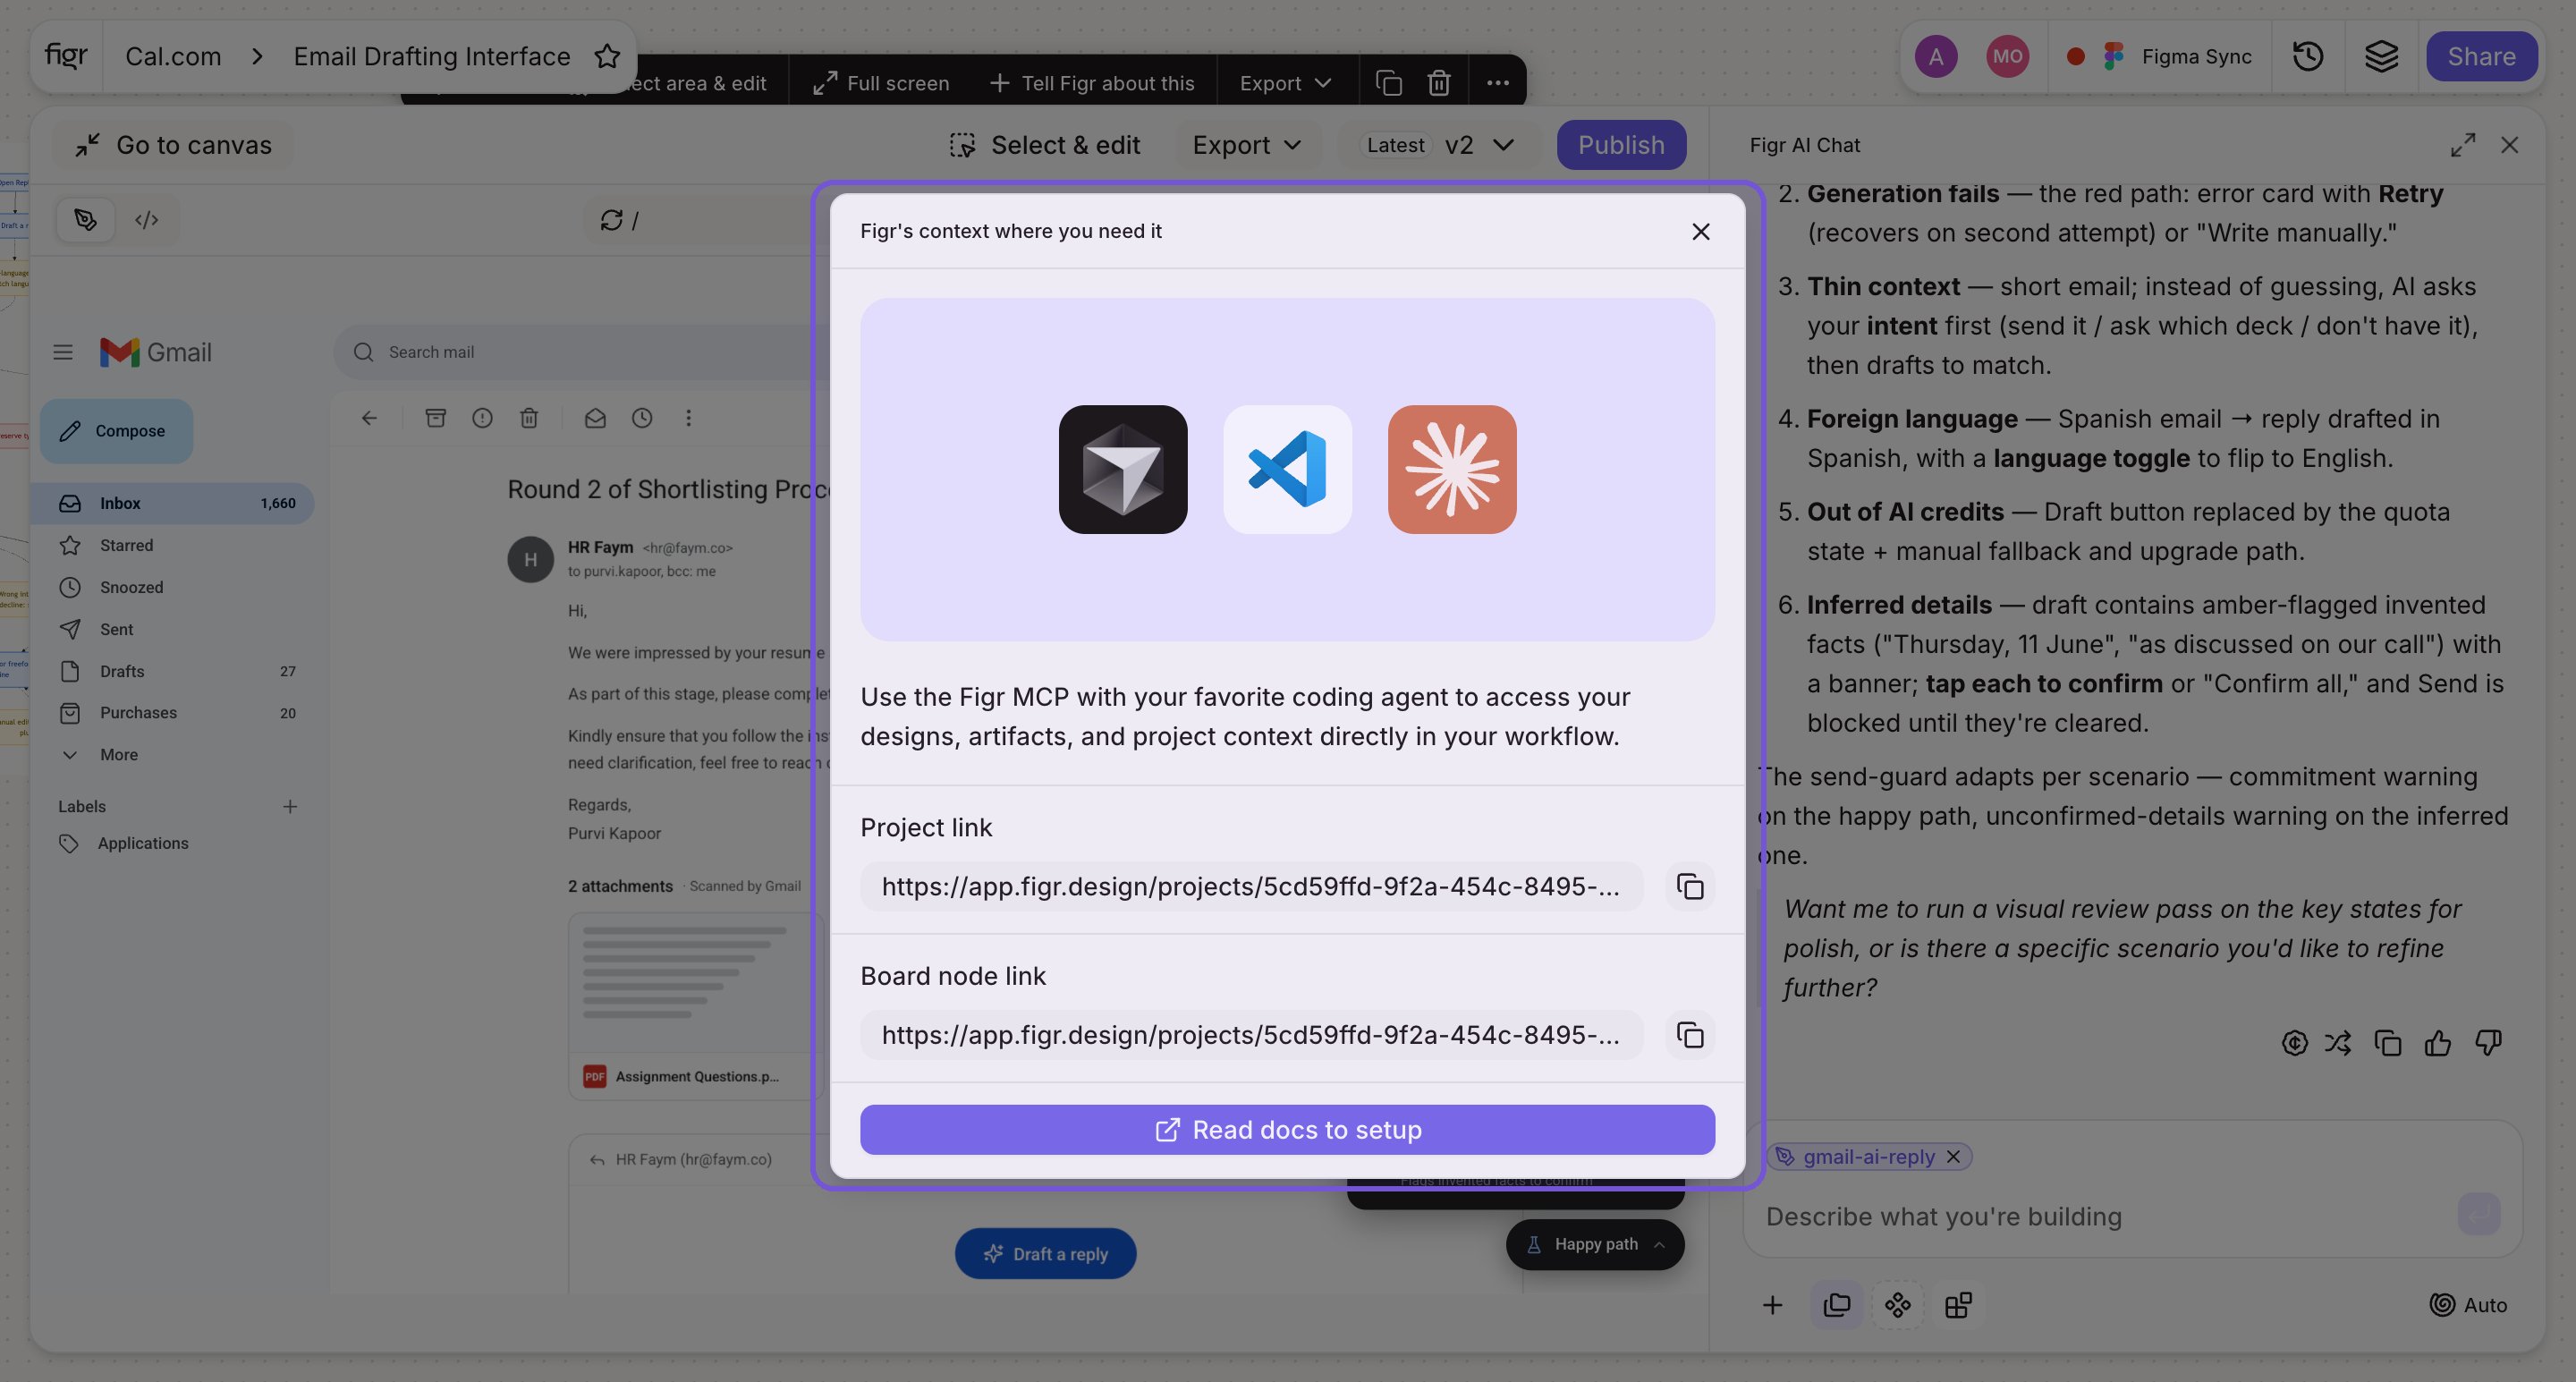

Export, then Use MCP server: integration options for VS Code and Cursor, with Project link and Board node link.
As a connector
Register the Figr MCP server once so any project is reachable, instead of copying a link per node. The server URL is the same for everyone:https://mcp.figr.design/mcp.
Through a connectors page
1
Open the Connectors page and click + Add custom
2
Enter a name and the server URL
Name it (for example, Figr mcp) and use
https://mcp.figr.design/mcp.3
Save, then Connect
Complete the OAuth consent to grant workspace and project read access.
4
Wait for the connector to turn green
Your tools can now reach Figr live. Share a project or node link in your assistant to focus it.
Through your editor’s config
Some editors register the server through a config file instead of a connectors page.- Cursor
- Claude Code
- Google Antigravity
- Other editors
- Open Cursor → Settings → Cursor Settings.
- Click Tools & Integrations.
- Under MCP Tools, click + to add a custom MCP server.
- Paste this into
mcp.jsonand save.
Supported clients
Why it matters
Handing a design to a developer usually means lossy translation: a screenshot, a spec doc, a guess at spacing. MCP removes that gap.Best practices
- Use a Board node link for focused work. Pointing the assistant at one screen keeps its context tight and its output accurate.
- Use a Project link for broader builds, when the assistant needs to see how screens relate.
- Register the connector once if you work in your IDE daily, instead of copying a node link each time.
- Review the OAuth scopes before authorizing, so you know what workspace access you are granting.
Troubleshooting
Related
Export options
Other ways to hand off a design.
Download code
A front-end starting point for implementation.