

1
Open Add context in the chat box
In your project, click Add context in the chat box and choose Upload from computer. You can also drag files straight into the chat box.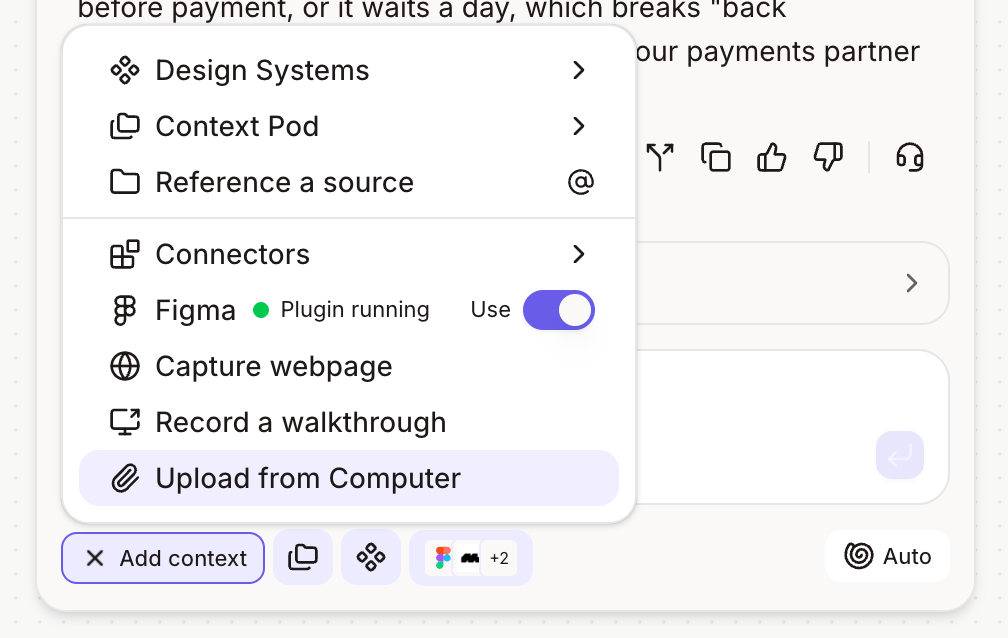
2
Pick your files
Choose PDFs, Markdown or text files, screenshots, CSVs or HTML files. They appear as attachments above your message.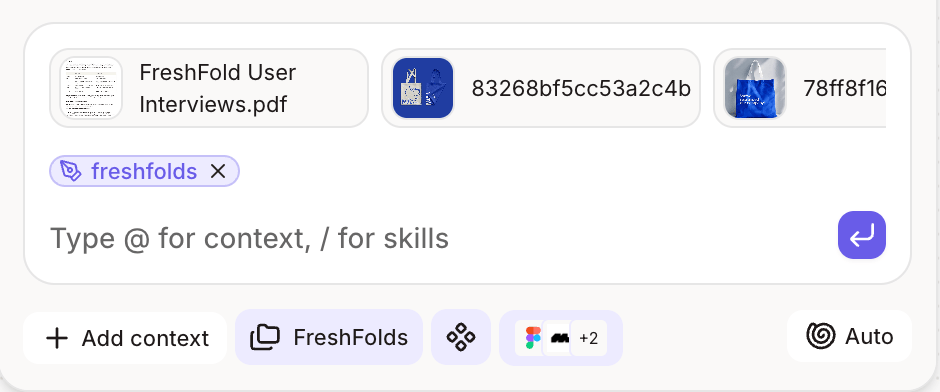
3
Say what to do with them
Tell Figr how to use the files. For example: “Use this PRD and these screenshots to design the new billing settings page.”
4
Send
Figr reads every attachment before it responds.
Files you attach in the chat apply to that message. They don’t land on the canvas unless you add them there.
Supported files and limits
Next
Bring in Figma frames
Send frames from Figma to Figr.
Capture a public page
Paste a link into the chat.